Pull down to Refresh FlatList
Published On: 2024-09-14
Posted By: Harish
Sometimes we want a list to get updated only on certain actions like getting the latest list data from an API only when we call that API by clicking on a button or through any other action.
Instead of pressing a button, we have a pull down to refresh feature in react native list components like VirtualizedList, FlatList or SectionList.
In this post, we will check the working of this feature with a FlatList example.
Create A New Project
Create a new react-native project by using npx. Check documentation for creating a new react native project.
npx react-native@latest init FlatListRN
Example Implementation
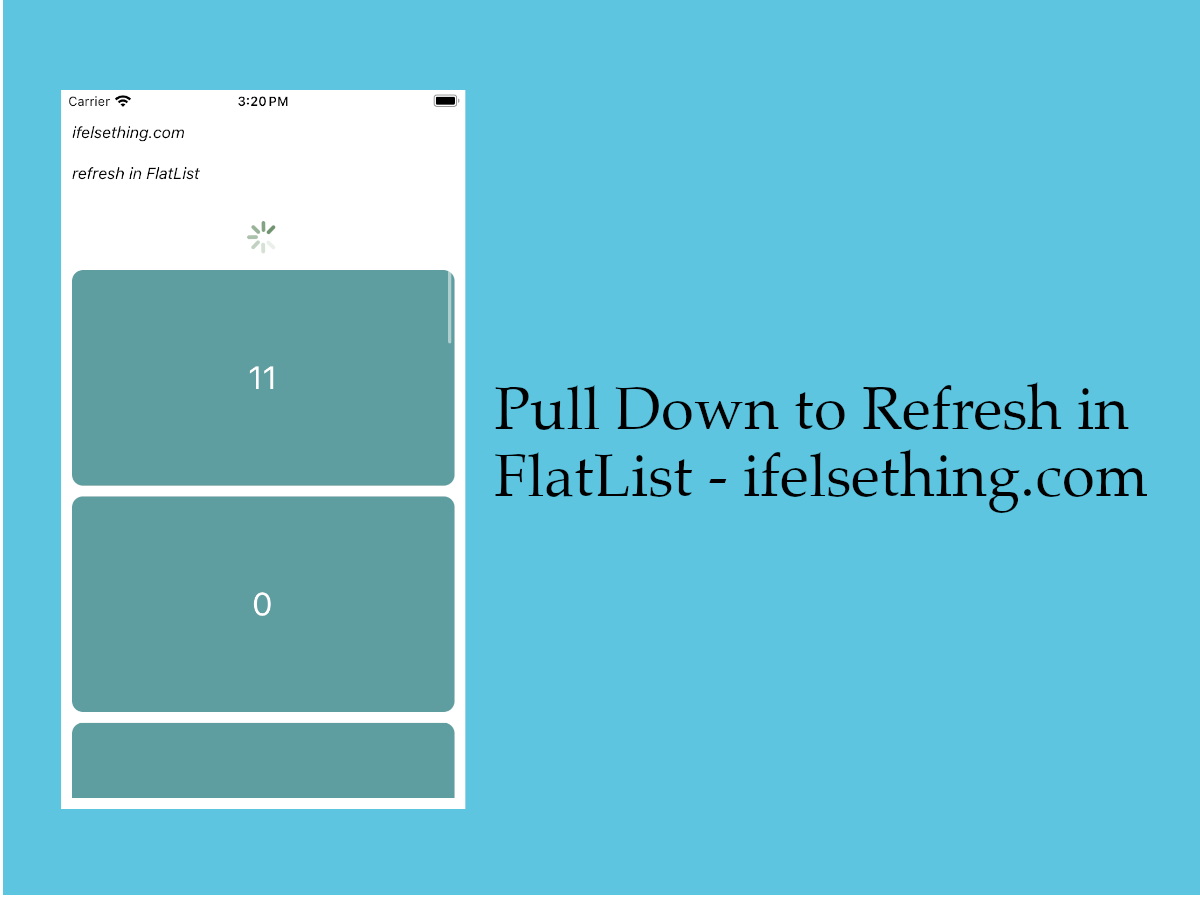
We will create a simple vertical FlatList and on pulling down the list, we will add a new block at 0 index with a new id.
Import FlatList from react-native and add to App.tsx file. You can find more info about a basic FlatList by visiting FlatList with a basic example post.
//App.tsx
...
import { FlatList } from 'react-native';
...
<FlatList
  contentContainerStyle={styles.content_container}
  data={data}
  keyExtractor={item => item + ""}
  renderItem={({ item }) => {
    return (
      <Item item={item} />
    )
  }}
/>
...
If we run the app now,
#for Android
npx react-native run-android

#for ios
npx react-native run-ios
We will see a simple vertical list with starting index 0.
Now coming to main functionality, we have two main properties to look at while implementing a pull down to refresh feature.
One is refreshing prop and another one is onRefresh callback.
First, we will look into the onRefresh callback.
onRefresh
When we pull down a FlatList to refresh, this callback is called.
So, we will add a function to this callback to update the FlatList's list.
For us, it is to add a new block at index 0 with a new continuing ID.
So, let's write a function with the above functionality.
import React, { useState, useCallback } from "react";
import {
  ...
  RefreshControl
} from "react-native";
...
const onRefresh = useCallback(() => {
  setTimeout(() => {
    setData(prev => [prev.length + 1, ...prev]);
  }, 1000);
}, []);
...
<FlatList
  ...
  refreshControl={
    <RefreshControl
      ...
      onRefresh={onRefresh}
    />
  }
/>
...
Let's walk through the above code.
Imported RefreshControl component from react native and passed to refreshControl prop of FlatList.
Now, we are using the onRefresh callback of the RefreshControl component which calls this function when we pull down the FlatList.
Please note that the pull down to refresh functionality only activates when scroll position is 0, in other words, when list is at starting point.
On refresh, we are adding another block to the list at index 0. And for this example, to simulate the refreshing, we are using a timeout to delay the process. This is only for our example and not needed in general.
Next will look into another required prop, refreshing.
refreshing
This prop is used by <RefreshControl> component to show/hide the refresh indicator based on the onRefresh function.
With this prop, a refresh indicator will be shown till the function completes its action.
This prop has to be updated based on the function completion.
...
const [refreshing, setRefreshing] = useState<boolean>(false);
...
const onRefresh = useCallback(() => {
  setRefreshing(true);
  setTimeout(() => {
    ...
    setRefreshing(false);
  }, 1000);
}, []);
...
<FlatList
  ...
  refreshControl={
    <RefreshControl
      ...
      refreshing={refreshing}
    />
  }
/>
...
We are using the useState hook to set the value of refreshing prop based on onRefresh function's progress.
So, by default refreshing is false and when the user pulls down the list to refresh, the onRefresh function gets called, and refreshing sets to true, which means a refresh indicator will be shown.
When the function completes its action, we set the refreshing prop to false notifying the RefreshControl component that action is completed which hides the refresh indicator.
Refresh indicator color for iOS and Android
With the tintColor prop of the RefreshControl component, we can change the refresh indicator's color in iOS devices.
For android devices, we have colors prop, which changes the refresh indicator colors for android devices. Unlike one color in iOS devices, this colors prop accepts an array of colors which change to different refresh indicator colors. Also check pulling down to refresh in ScrollView post for more info.
progressViewOffset
progressViewOffset prop of RefreshControl component is used to change the position of the refresh indicator vertically.
This prop accepts a number and it shifts the offset from its default position.
Now re-run the app and test the FlatList refresh functionality. Same process is applicable to VirtualizedList and SectionList.
Complete code of our example,
//App.tsx
import React, { useState, useCallback } from "react";
import {
  Text,
  StyleSheet,
  SafeAreaView,
  StatusBar,
  View,
  FlatList,
  RefreshControl,
} from "react-native";

export default function App() {

  const [refreshing, setRefreshing] = useState<boolean>(false);
  const [data, setData] = useState<Array<number>>([...Array(10).keys()]);

  const Item = ({ item }: { item: number }) => {
    return (
      <View
        key={item}
        style={styles.item_view}

      >
        <Text style={styles.item_text}>{item}</Text>
      </View>
    )
  };

  const onRefresh = useCallback(() => {
    setRefreshing(true);
    setTimeout(() => {
      setData(prev => [prev.length + 1, ...prev]);
      setRefreshing(false);
    }, 1000);
  }, []);

  return (
    <SafeAreaView style={{ flex: 1, backgroundColor: 'white' }}>
      <StatusBar
        barStyle="dark-content"
      />
      <View style={styles.container}>
        <Text style={styles.text}>
          ifelsething.com
        </Text>
        <Text style={styles.text}>
          refresh in FlatList
        </Text>
        <FlatList
          contentContainerStyle={styles.content_container}
          data={data}
          keyExtractor={item => item + ""}
          refreshControl={
            <RefreshControl
              refreshing={refreshing}
              onRefresh={onRefresh}
              //progressViewOffset={10}
              tintColor='green'
              colors={['blue', 'green', 'red']}
            />
          }
          renderItem={({ item }) => {
            return (
              <Item item={item} />
            )
          }}
        />
      </View>
    </SafeAreaView>
  );
}

const styles = StyleSheet.create({
  container: {
    flex: 1,
    margin: 10,
    gap: 20
  },
  text: {
    fontSize: 15,
    color: 'black',
    fontStyle: 'italic'
  },
  content_container: {
    gap: 10
  },
  item_view: {
    width: '100%',
    height: 200,
    borderRadius: 10,
    backgroundColor: 'cadetblue',
    alignItems: 'center',
    justifyContent: 'center'
  },
  item_text: {
    color: 'white',
    fontSize: 30,
  }
});
Related Posts
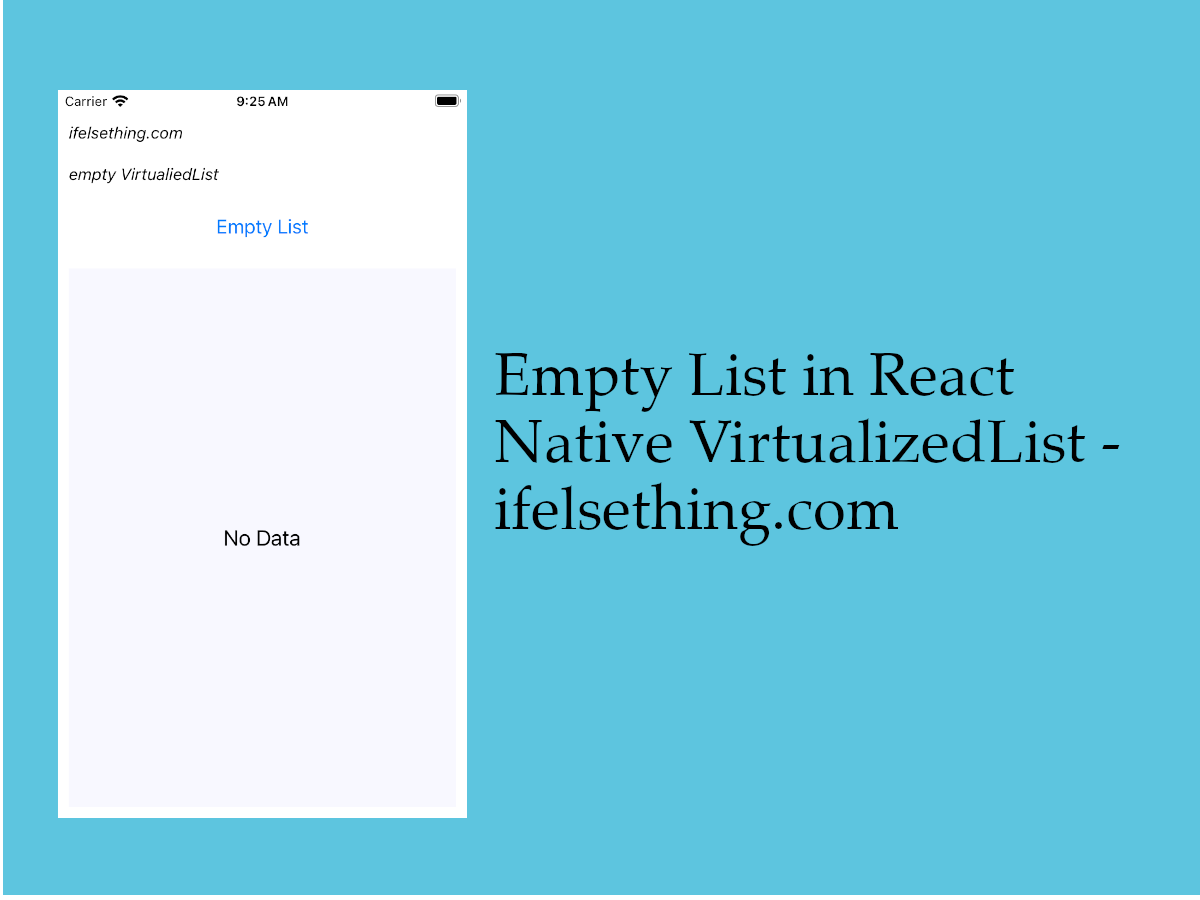 Empty Data Component of VirtualizedList
 SectionList in React Native
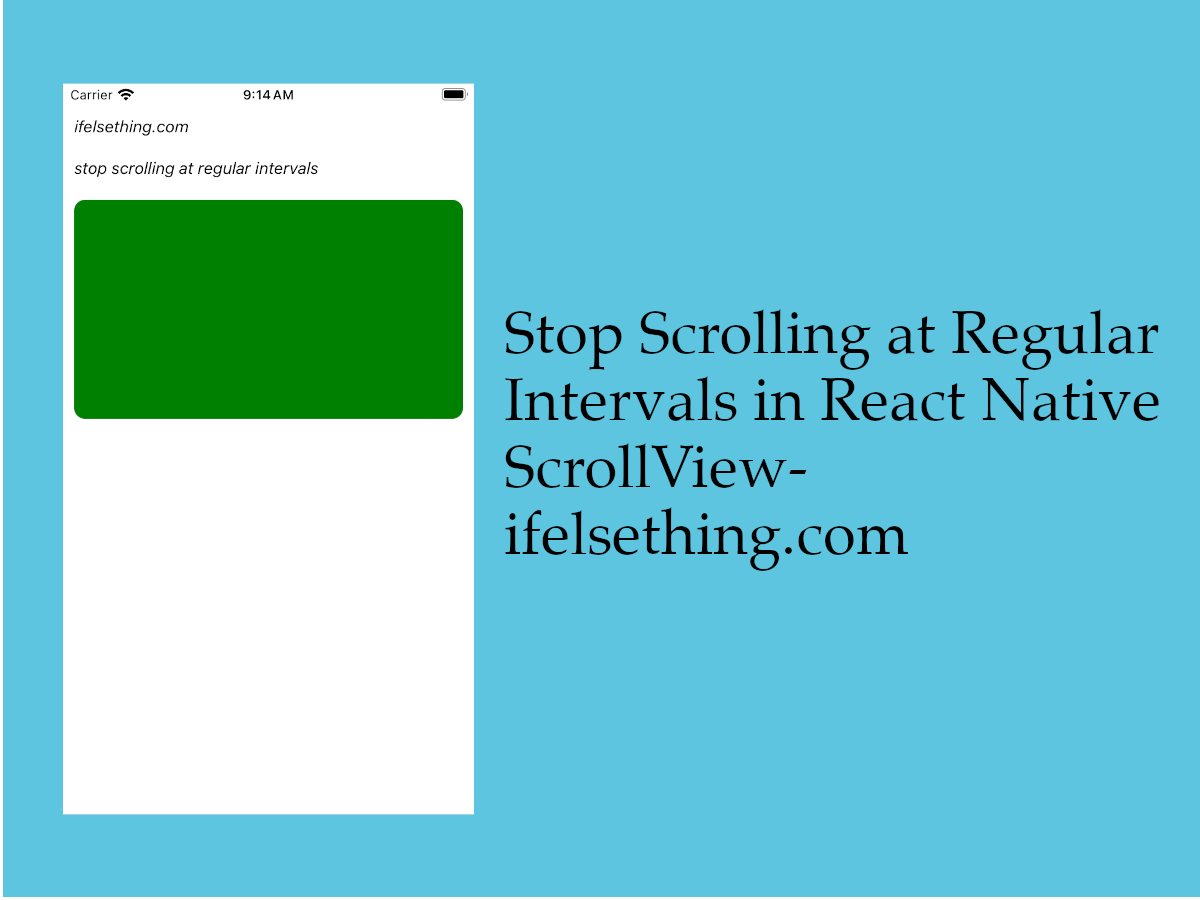 Stop Scrolling at Regular Intervals in React Native
 Stop Scrolling at Irregular Intervals in React Native
 Scroll Events of React Native ScrollView
 Show Large Data Lists using React Native FlatList
 Scroll Programmatically in React Native
 Horizontal ScrollView in React Native
 Scroll Programmatically in a FlatList