Scroll to List Items in React Native
Published On: 2024-07-20
Posted By: Harish
When it comes to scrolling a list of items in a ScrollView, we have seen different ways like scrolling to different points using snapToOffsets or programmatically scroll to a point using snapTo() method or using contentOffset prop to scroll to a point.
Above methods can also be used for VirtualizedList and FlatList components too. But they are better for small lists and when all list items have the same width or same height.
If we have large lists or lists with uneven item's size or want to scroll an element with index, we have to use a different set of callbacks and props to achieve the scroll.
In this post, we will look into a way to scroll to different item positions using their index with even and uneven item sizes with an example.
Props and callbacks used in this post are applicable for VirtualizedList as well as FlatList. So, I'm using a VirtualizedList as an example. Process is same for FlatList, just pass the data and implement these callbacks.
Create A New Project
Create a new react-native project by using npx. Check documentation for creating a new react native project.
npx react-native@latest init VListRN
Example Implementation
We will create a vertical VirtualizedList and scroll to different items when the item's height is the same and uneven.
Import and add VirtualizedList. Add basic VirtualizedList with color blocks and index. Check basic VirtualizedList implementation for more info.
//App.tsx
import { VirtualizedList } from 'react-native';
...
type ItemDataProp = {
  id: string;
  height: number;
};
...
const [dataArray, setDataArray] = useState<ItemDataProp[]>([]);
...
useEffect(() => {
  data();
}, []);
const data = () => {
  const arr: any = [...Array(50).keys()].map(m => {
    return {
      id: Math.random().toString(12).substring(0),
      height: 200,
    }
  });
  setDataArray(arr);
};
...
{
  dataArray.length !== 0
  && <VirtualizedList
    contentContainerStyle={styles.content_container}
    data={dataArray}
    getItemCount={getItemCount}
    getItem={getItem}
    keyExtractor={item => item?.id}
    renderItem={({ item, index }) => {
      return (
        <Item id={index} height={item.height} />
      )
    }}
  />
}
...
Here, dataArray contains objects with height and a random id. For now, keep an item’s height fixed and for this example, it is 200.
Check the complete code block down below for reference.
If you run the app,
#for Android
npx react-native run-android

#for ios
npx react-native run-ios
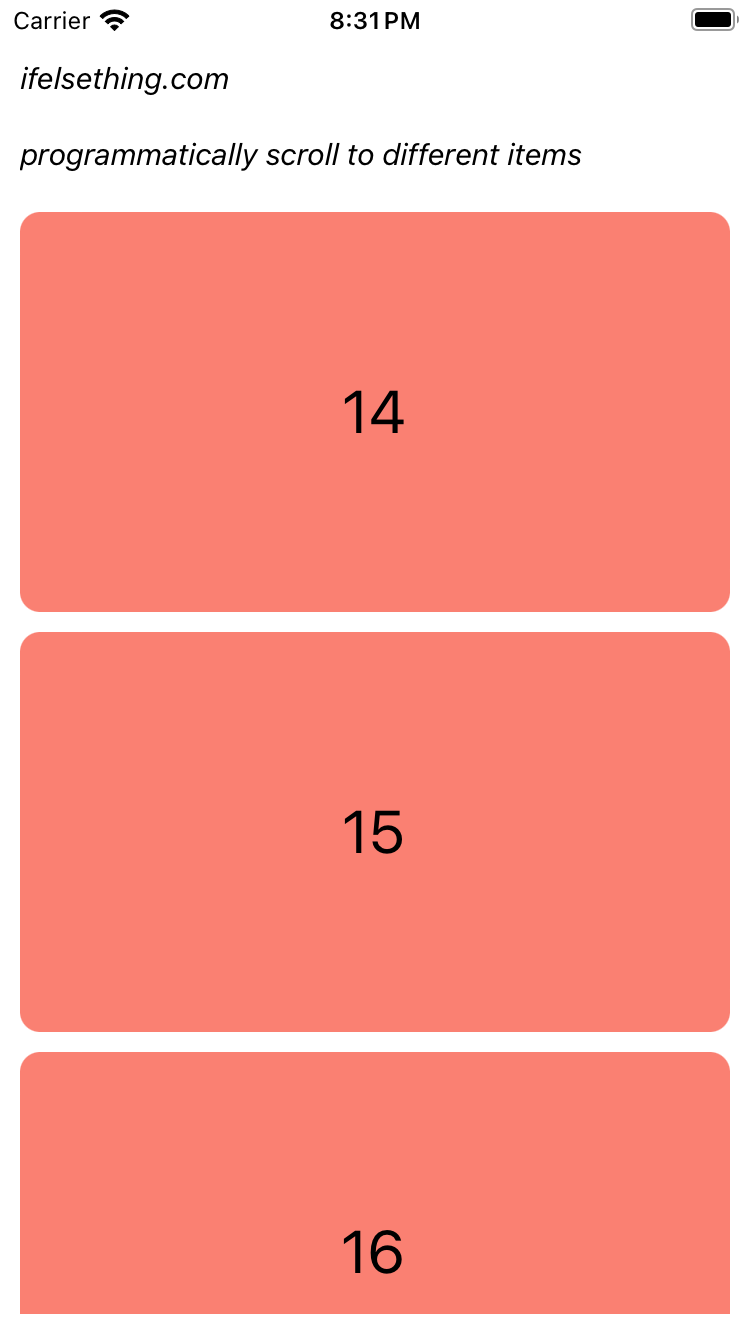
You will see a color blocks list with an index as text in it.
initialScrollIndex
At first, we will look into the use of initialScrollIndex prop. As the name says, this is used to scroll to an item on the first render, based on their index.
Let's add initialScrollIndex prop to the VirtualizedList component and give any index between 0 to 49. Let's give index 14.
...
<VirtualizedList
  ...
  initialScrollIndex={14}
/>
...
Before reloading the app, we have to add a getItemLayout callback to work.
getItemLayout
This is a required callback, which lets the VirtualizedList or FlatList component calculate the required width or height to scroll to reach the specified indexed item.
If our list is vertical scrollable, offset is calculated based on height and for horizontal list, width is used.
As our list is vertical and we have given 14 as index, the data we return in getItemLayout callback calculates the approximate height required to reach till the 14th index item and then check for the item nearby.
With getItemLayout callback, the performance of large lists is improved rather than list components calculating by themselves. This is easier for us to tell the size of the item to the VirtualizedList or FlatList component, as we have a fixed item width or height.
So, let's calculate the height to reach the 14th index item, which is the 15th block. Each item has a height of 200 and a gap of 10. We have 14 blocks above 14th index, so total of 14 * (210) = 2940 is the height to scroll to reach 14 index.
If we convert that to a point on the axis, this is {x: 0, y: 2940} and we already have a contentOffset prop to start scrolling from that point. But contentOffset prop works best for smaller heights.
Now back to our getItemLayout callback. We have to return an object with a single item's width or height and an offset.
...
const getItemLayout = (data: ItemDataProp, index: number) => (
  { length: 200, offset: (200 + 10) * index, index }
);
...
<VirtualizedList
  ...
  initialScrollIndex={14}
  getItemLayout={getItemLayout}
/>
...
In the above function, we are returning the length of an item, in our case its 200, an offset and an index.
For length, only item's width or height is sufficient but for offset, item's height or width and margins, paddings or gaps are also needed for calculation.
If you re-run the metro builder, on load, list will be scrolled to index 14 item.
Programmatically scroll to same sized items of a list
Above used prop, initialScrollIndex only works on load. Even when we try to change this prop's index using a state variable, the list will not scroll to the new item.
So, if you want to programmatically scroll to different items using their index, we can use scrollToIndex() or scrollToItem() methods.
Let's implement these methods and later discuss each method's parameters.
First we have to get the reference of the VirtualizedList or FlatList component..
So, import useRef from react and set the reference to the list component. We used a similar process to programmatically focus a TextInput.
...
const listRef = useRef(null);
...
<VirtualizedList
  ...
  ref={listRef}
/>
...
Now we can call listRef.current.scrollToIndex() or listRef.current.scrollToItem() methods to programmatically scroll to items.
Lets create a few buttons with indexes as titles and on press they will change the index.
Import Button from react-native and add buttons with different indexes. I added four buttons with four different indexes.
Now, on a single button press, call these methods with their parameters.
Let's first discuss the scrollToIndex() method.
scrollToIndex()
On pressing these buttons, call scrollToIndex() functions.
Refer below complete code block for better understanding.
...
<View style={{ flexDirection: 'row', alignSelf: 'center' }}>
 <Button
   title='32'
   onPress={() => {
     listRef.current?.scrollToIndex({
       index: 32,
       animated: true,
       viewPosition: 0,
       viewOffset: 0
     });
   }}
 />
 <Button
   title='8'
   onPress={() => {
     listRef.current?.scrollToIndex({
       index: 8,
       animated: false,
       viewPosition: 1,
       viewOffset: -100
     });
   }}
 />
 <Button
   title='25'
   onPress={() => {
     listRef.current?.scrollToIndex({
       index: 25,
       animated: true,
       viewPosition: 0.5,
       viewOffset: 100
     });
   }}
 />
 <Button
   title='49'
   onPress={() => {
     listRef.current?.scrollToIndex({ index: 49 });
   }}
 />
</View>
...
For better understanding, I repeated the scrollToIndex method for every onPress callback.
As you can see, the scrollToIndex method accepts four parameters, index, animated, viewPosition and viewOffset.
The index parameter is required and others are optional. By default the animated parameter’s value is true, which means no animation while scrolling. The viewPosition parameter is to set the position of the scrolled item to a specific location in the list view. If the passed value is 0, then the item's position is at the top of the list view, if 1, then position will be at the bottom of the list view and for 0.5, it will be at the middle of the list view.
Now, viewOffset parameter is the distance of the item from the viewPosition value. Like, if viewPosition is at 0.5, meaning at the middle of the list view and if viewOffset is 100 then the item will scroll even further from middle of the list view till the value is 100 from the center of the list view.
For vertical lists, If values are positive, items push downwards and negative means push upwards. For horizontal list, positive viewOffset value means pushed to right and left for negative values.
scrollToItem()
Similar to the scrollToIndex() method, this scrollToItem() does the same job of scrolling to different items but with the items itself, rather than their index.
This method accepts item, animated and viewPosition. The viewOffset is not present for this method.
The item parameter is for an item of the list to be scrolled to, animated is for animation with true sd the default value and viewPosition is for position of the item in list view. Refer scrollToIndex() section above for more info.
listRef.current?.scrollToItem({
  item: dataArray[32],
  animated: true,
  viewPosition: 0
});
You can find other button examples as comments in complete code block down below.
scrollToEnd()
If you see the fourth button, its index is 49, which is the last item of the list.
Whenever we want to go to the last item of the list, we can use the scrollToEnd() method. Simply calling this method scrolls to the last item of the list. This function does not have any other parameter other than animate, which has true as default value.
listRef.current?.scrollToEnd();
Programmatically scroll to different sized list items
From the above example, we have seen a way to scroll to different items when they have the same height for the vertical list or same width for horizontal list.
But what if items have different widths or heights for horizontal or vertical lists?
We cannot use getItemLayout callback as we don't have any fixed width or height.
In those cases, we have to use onScrollToIndexFailed callback which returns an estimated average height or width of an item and an index to scroll to.
Also use scrollToIndex() method instead of initialScrollIndex for dynamic data. Using an useEffect with setTimeout function to delay scrolling is the best possible way to get better results.
useEffect(() => {
  setTimeout(() => {
    listRef.current?.scrollToIndex({ index: 14 })
  }, 100);
}, []);
With this, on load, the list scrolls to the 14th index item, similar to initialScrollIndex prop. So, comment initialScrollIndex prop and getItemLayout callback.
Add onScrollToIndexFailed callback to the VirtualizedList or FlatList and for now, console log the event.
...
<VirtualizedList
  ...
  onScrollToIndexFailed={e => {
    console.log(e)
  }}
/>
...
You will see a log similar to the example below.
{"averageItemLength": 447, "highestMeasuredFrameIndex": 12, "index": 14}
We receive an estimated average length of an item, either it may be height or width based on the list’s orientation, measured frame index and the index of the item to scroll.
When our item height was 200, we measured the offset by adding all items height till 14th index item and extra gaps if any.
Similarly, in onScrollToIndexFailed callback, we have to first scroll to the estimated offset using scrollToOffset() method and then scroll to the item based on its index.
Check below code snippet.
<VirtualizedList
  ...
  onScrollToIndexFailed={e => {
    const { averageItemLength, index } = e;
    const offset = averageItemLength * index;
    listRef.current?.scrollToOffset({ offset: offset })
    setTimeout(() => {
      listRef.current?.scrollToIndex({ index: index })
    }, 100)
  }}
/>
In the above code, we are taking the estimated height of each item and multiplying with the index to get an approximate offset to reach the required item.
And then we are calling the scrollToOffset() method. This method is used to scroll to an offset and is similar to contentOffset prop.
Setting timeout is required in this case because scrolling to an index takes place after calculating and scrolling to the required offset. So with timeout, we are delaying the process of scrolling to an index.
Only used index and removed other parameters in scrollToIndex() method on button press for this uneven sized items example. This will let each item be positioned at the top of the list view on scroll except the last indexed item.
We can also use the scrollToItem() method in place of scrollToIndex(), but the latter is recommended.

Complete code of our example,
//App.tsx
import React, { useEffect, useRef, useState } from "react";
import {
  Text,
  StyleSheet,
  SafeAreaView,
  StatusBar,
  View,
  VirtualizedList,
  Button,
} from "react-native";

type ItemDataProp = {
  id: string;
  height: number;
};

export default function App() {
  const listRef = useRef(null);
  const [dataArray, setDataArray] = useState<ItemDataProp[]>([]);
  const Item = (props: any) => {
    const { id, height } = props;
    return (
      <View
        key={id}
        style={[
          styles.view,
          {
            backgroundColor: 'salmon',
            height: height
          }
        ]}
      >
        <Text style={{ color: 'black', fontSize: 30 }}>{id}</Text>
      </View>
    )
  };
  useEffect(() => {
    data();
    setTimeout(() => {
      listRef.current?.scrollToIndex({ index: 14 })
    }, 100);
  }, []);
  const data = () => {
    const arr: ItemDataProp[] = [...Array(50).keys()].map(m => {
      return {
        id: Math.random().toString(12).substring(0),
        height: 200 //Math.floor(Math.random() * 400) + 200 - for random height
      }
    });
    setDataArray(arr);
  };
  const getItem = (data: ItemDataProp[], index: number) => data[index];
  const getItemCount = (data: ItemDataProp[]) => data.length;
  const getItemLayout = (data: ItemDataProp, index: number) => (
    { length: 200, offset: (200 + 10) * index, index }
  );
  return (
    <SafeAreaView style={{ flex: 1, backgroundColor: 'white' }}>
      <StatusBar
        barStyle="dark-content"
      />
      <View style={styles.container}>
        <Text style={styles.text}>
          ifelsething.com
        </Text>
        <Text style={styles.text}>
          programmatically scroll to different items
        </Text>
        <View style={{ flexDirection: 'row', alignSelf: 'center' }}>
          <Button
            title='32'
            onPress={() => {
              listRef.current?.scrollToIndex({
                index: 32,
                animated: true,
                viewPosition: 0,
                viewOffset: 0
              });
              // listRef.current?.scrollToItem({
              //   item: dataArray[32],
              //   animated: true,
              //   viewPosition: 0,
              // });
            }}
          />
          <Button
            title='8'
            onPress={() => {
              listRef.current?.scrollToIndex({
                index: 8,
                animated: false,
                viewPosition: 1,
                viewOffset: -100
              });
              // listRef.current?.scrollToItem({
              //   item: dataArray[8],
              //   animated: false,
              //   viewPosition: 1,
              // });
            }}
          />
          <Button
            title='25'
            onPress={() => {
              listRef.current?.scrollToIndex({
                index: 25,
                animated: true,
                viewPosition: 0.5,
                viewOffset: 100
              });
              // listRef.current?.scrollToItem({
              //   item: dataArray[25],
              //   animated: false,
              //   viewPosition: 0.5,
              // });
            }}
          />
          <Button
            title='49'
            onPress={() => {
              listRef.current?.scrollToIndex({ index: 49 });
              //listRef.current?.scrollToEnd();
              //listRef.current?.scrollToItem({ item: dataArray[49] });
            }}
          />
        </View>
        {
          dataArray.length !== 0
          && <VirtualizedList
            ref={listRef}
            contentContainerStyle={styles.content_container}
            data={dataArray}
            //initialScrollIndex={14}
            //getItemLayout={getItemLayout}
            onScrollToIndexFailed={e => {
              const { averageItemLength, index } = e;
              const offset = averageItemLength * index;
              listRef.current?.scrollToOffset({ offset: offset, animated: true })
              setTimeout(() => {
                //listRef.current?.scrollToItem({ item: dataArray[e.index], animated: true })
                listRef.current?.scrollToIndex({ index: e.index, animated: true })
              }, 100)
            }}
            getItemCount={getItemCount}
            getItem={getItem}
            keyExtractor={item => item?.id}
            renderItem={({ item, index }) => {
              return (
                <Item id={index} height={item.height} />
              )
            }}
          />
        }
      </View>
    </SafeAreaView>
  );
}

const styles = StyleSheet.create({
  container: {
    flex: 1,
    margin: 10,
    gap: 20
  },
  text: {
    fontSize: 15,
    color: 'black',
    fontStyle: 'italic'
  },
  content_container: {
    gap: 10
  },
  view: {
    justifyContent: 'center',
    alignItems: 'center',
    width: '100%',
    borderRadius: 10
  }
});