Show Local Asset Image in React Native
Published On: 2024-05-06
Posted By: Harish
By using react native Image component, we can show local or remote images in react native app.
In this post we will discuss showing a local image stored on a device. This is very straightforward and basic functionality.
We have to pass the path of the image resource to the source prop of the Image component.
Lets see that in action.
Create A New Project
Create a new react-native project by using npx. Check documentation for creating a new react native project.
npx react-native@latest init ImageRN
Example Implementation
We will just show an image resource file stored in the assets folder.
First create a folder named assets outside of the src folder at the same level of the package.json file.
Copy the local image which needs to be shown in the assets folder. Creating sub-folders is one's preference.
Now, go back to the App.tsx file, clear the boilerplate content and import and add the Image component from react-native.
Add a source prop with require('path-to-local-image').
//App.tsx
...
import { Image } from 'react-native';
...
<Image
  style={styles.image}
  source={require('./assets/local-image.jpg')}
/>
...
image: {
  flexShrink: 1,
  width: '100%',
  resizeMode: 'cover'
}
If we run the app,
#for Android
npx react-native run-android

#for ios
npx react-native run-ios
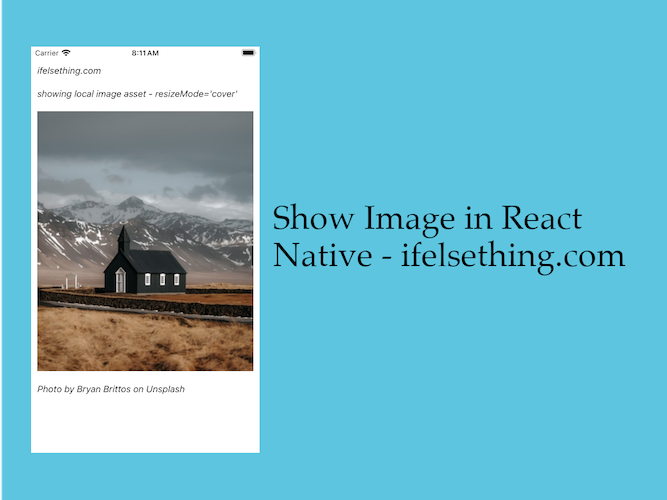
On render, we can see the local image.
With style's width, height and resizeMode properties, we can adjust the image to our required size and aspect ratio.
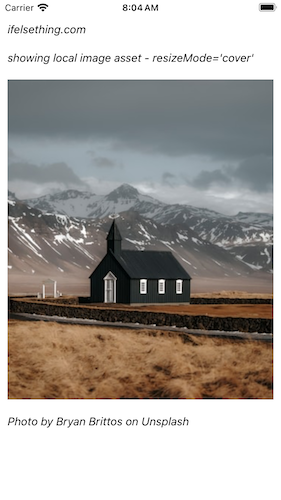
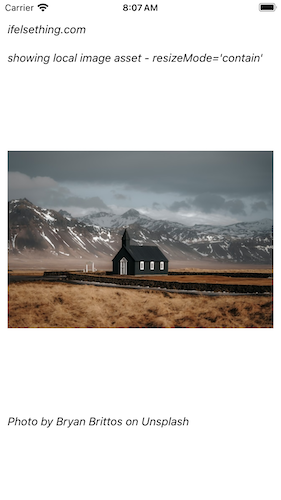
We can also use the Image component's resizeMode prop to adjust the image. Both style's resizeMode and Image components resizeMode prop are the same.
resizeMode='contain'
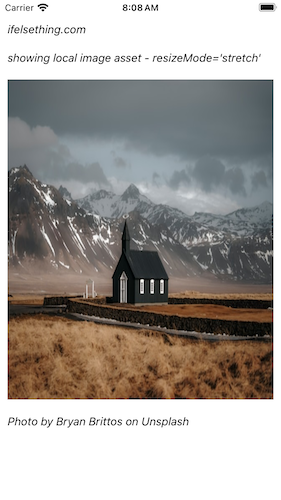
resizeMode='stretch'
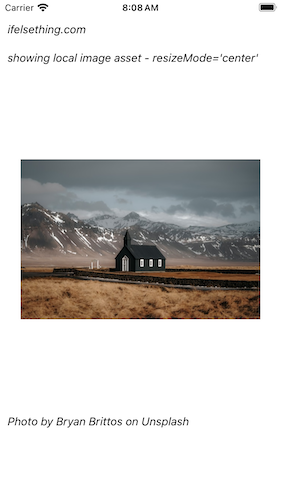
resizeMode='center'
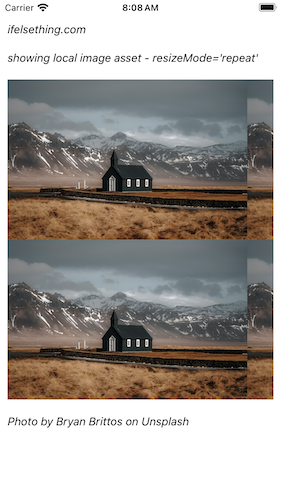
resizeMode='repeat'
Complete code of our example,
//App.tsx
import React from "react";
import {
  Text,
  StyleSheet,
  SafeAreaView,
  StatusBar,
  View,
  Image
} from "react-native";

export default function App() {
  return (
    <SafeAreaView style={{ flex: 1, backgroundColor: 'white' }}>
      <StatusBar
        barStyle="dark-content"
      />
      <View style={styles.container} >
        <Text style={styles.text}>
          ifelsething.com
        </Text>
        <Text style={styles.text}>
          showing local image asset
        </Text>
        <Image
          style={styles.image}
          resizeMode='cover'
          source={require('./assets/local-image.jpg')}
        />
        <Text style={styles.text}>
          Photo by Bryan Brittos on Unsplash
        </Text>
      </View>
    </SafeAreaView>
  );
}

const styles = StyleSheet.create({
  container: {
    flex: 1,
    margin: 10,
    gap: 20
  },
  text: {
    fontSize: 15,
    color: 'black',
    fontStyle: 'italic'
  },
  image: {
    flexShrink: 1,
    width: '100%',
    //resizeMode: 'cover'
  }
});