VirtualizedList in React Native
Published On: 2024-07-13
Posted By: Harish
When it comes to showing a list in react native, we mainly focus on ScrollView or FlatList. But we also have another component VirtualizedList, a flexible and best performing component for large immutable data lists.
ScrollView component can be used to show a few blocks of scrollable content like we see in dashboards but not a large list of items. This is because, scrollview renders every item on render even if that item is out of the viewing window which will give performance issues for large lists. In other components like FlatList or VirtualizedList, items will render only if needed.
VirtualizedList instead of not rendering out of the render window, it fills them with item sized blank spaces. So, while scrolling, this empty item will be filled with data.
Another good reason to use it is to support different types of data types. Unlike FlatList limiting to only item arrays, VirtualizedList will accept other data types like object of objects etc. You can find more info on the VirtualizedList documentation page.
In this post, let's implement a basic VirtualizedList with data. You can find an example without data in the documentation.
Create A New Project
Create a new react-native project by using npx. Check documentation for creating a new react native project.
npx react-native@latest init VListRN
Example Implementation
We will create a simple vertical VirtualizedList with color blocks.
Import and add VirtualizedList. For now, we will not add any other props. Only prop we will add is its contentContainerStyle prop which we saw in the styling of scrollview children post.
//App.tsx
...
import { VirtualizedList } from 'react-native';
...
<VirtualizedList
  contentContainerStyle={styles.content_container}
/>
...
As we are using data in this example, add a data prop with an array of colors. Let's take an array first and later we will see an example with an object of objects data.
The data prop in VirtualizedList is an optional prop.
...
const colors = [
  'orange',
  'green',
  'blue',
  'maroon',
  'violet',
  'darkorange',
  'gold',
  'darkgreen',
  'aquamarine',
  'cadetblue'
];
...
<VirtualizedList
  contentContainerStyle={styles.content_container}
  data={colors}
/>
...
Now we have to return the length of the data in getItemCount callback.
This callback returns complete data, so get the data from the callback and return its length.
This is a required prop for VirtualizedList.
...
const getItemCount = (data: string[]) => data.length;
...
<VirtualizedList
  contentContainerStyle={styles.content_container}
  data={colors}
  getItemCount={getItemCount}
/>
...
Now, we have to access the item of the data to manipulate it. Think of this as a row of the VirtualizedList.
Add getItem callback to VirtualizedList.
If needed, you can change the item's data type, add a new value etc in this function. If nothing is needed to change, simply return the data’s item based on its index.
For this tutorial, we have to modify the data array’s simple color string to an object containing the name of the color and a random id. This random id is to use with keyExtractor callback.
Please note that the returned object is created for this example's purpose. You can return any data type in getItem callback.
...
type ItemDataProp = {
  id: string;
  color: string;
};
...
const getItem = (data: string[], index: number) => {
  return {
    id: Math.random().toString(12).substring(0),
    color: data[index],
  } as ItemDataProp
};
...
<VirtualizedList
  contentContainerStyle={styles.content_container}
  data={colors}
  getItemCount={getItemCount}
  getItem={getItem}
/>
...
Next, add a keyExtractor callback to the component.
This callback is used to return the id which we created earlier for each item. The keyExtractor is used for re-rendering purposes which improves performance.
...
<VirtualizedList
  contentContainerStyle={styles.content_container}
  data={colors}
  getItemCount={getItemCount}
  getItem={getItem}
  keyExtractor={item => item?.id}
/>
...
And comes the main part, rendering the item to show as a list item.
Add renderItem callback which returns the item data object which we created in getItem callback.
Use this data to render an item view component.
...
type ItemProp = {
  color: string;
};
...
const Item = (props: ItemProp) => {
  const { color } = props;
  return (
    <View
      key={color}
      style={[
        styles.view,
        {
          backgroundColor: color
        }
      ]}
    />
  )
};
...
<VirtualizedList
  contentContainerStyle={styles.content_container}
  data={colors}
  getItemCount={getItemCount}
  getItem={getItem}
  keyExtractor={item => item?.id}
  renderItem={({ item }) =>  <Item color={item.color} />}
/>
...
Now run the app to see the color blocks list.
#for Android
npx react-native run-android

#for ios
npx react-native run-ios
Above example is a basic VirtualizedList implementation.
Other Data Type Example
We used an array of colors for above example.
Let's change the data type to object of objects and get the list of color blocks.
The main props or callbacks to change from above example are data prop, getItemCount callback and getItem callback.
First change the data prop to an object of color objects.
...
const colorObject = {
  color1: {
    color: 'green'
  },
  color2: {
    color: 'yellow'
  },
  color3: {
    color: 'orange'
  }
};
...
<VirtualizedList
  data={colorObject}
/>
...
Now return the correct data items count. Here we have an object. so we will get the length of the object.
...
const getItemCountforObject = (data: any) => Object.keys(data).length;
...
<VirtualizedList
  data={colorObject}
  getItemCount={getItemCountforObject}
/>
...
And lastly, change how the getItem callback returns the item to renderItem callback. We will return the item data like we returned in the first example.
...
const getItemObject = (data: any, index: number) => {
  const objectToArray: ItemDataProp[] = Object.entries(data).map(obj => obj[1] as ItemDataProp);
  return {
    id: Math.random().toString(12).substring(0),
    color: objectToArray[index].color
  } as ItemDataProp
};
...
<VirtualizedList
  data={colorObject}
  getItemCount={getItemCountforObject}
  getItem={getItemObject}
  ...
/>
...
That's it. The renderItem and keyExtractor callbacks are the same as the first example.
Now run the app to see those colors as a list.
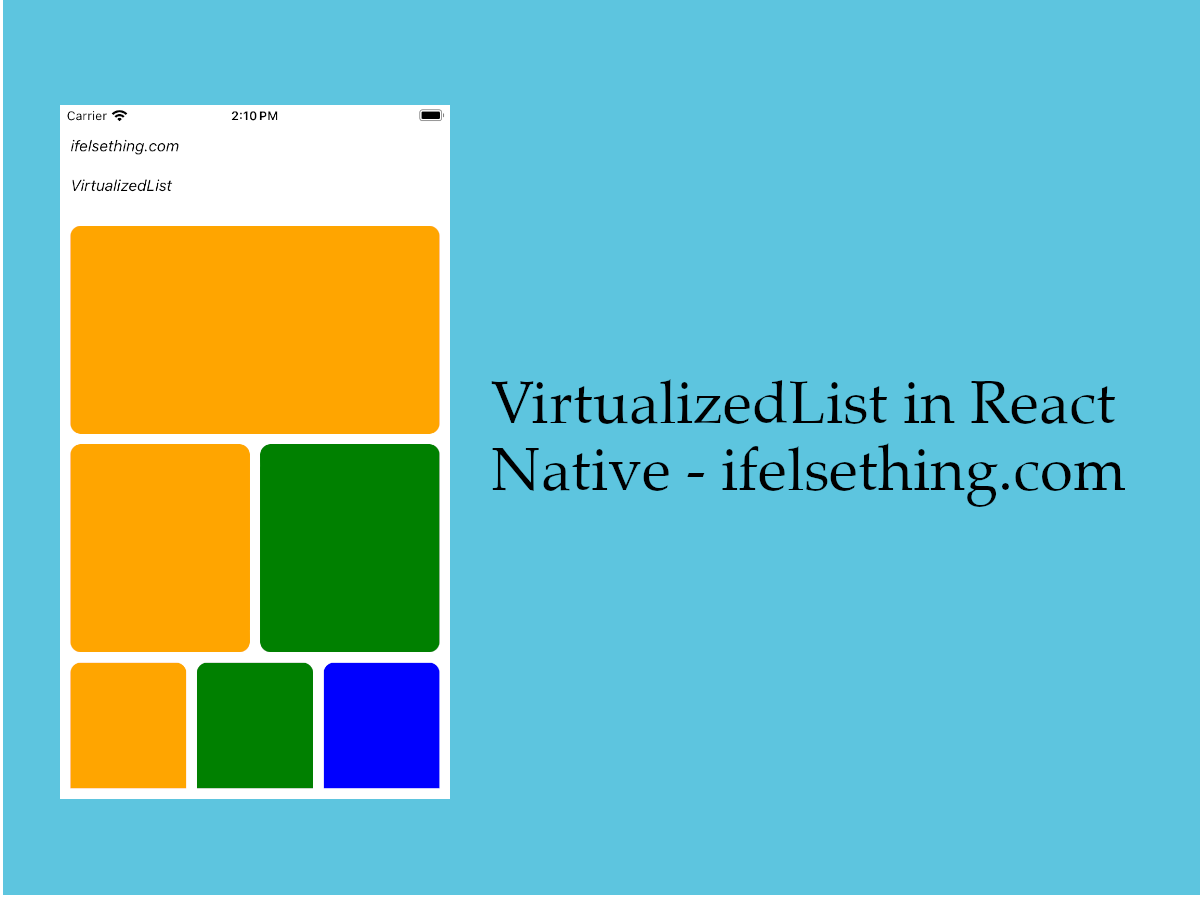
Flexibility
Now what does flexibility in VirtualizedList means. Let's take the first example and change the getItem’s return data to return an array of colors with length based on the item's index.
...
const getItemMultiple = (data: string[], index: number) => ({
  id: Math.random().toString(12).substring(0),
  colors: data.slice(0, index)
});
...
<VirtualizedList
  data={colors}
  getItemCount={getItemCount}
  getItem={getItemMultiple}
  ...
/>
...
Change the renderItem callback to return an item component with different colors in a row.
...
<VirtualizedList
  ...
  renderItem={({ item }) => {
    return (
      <View style={{ flexDirection: 'row', gap: 10 }}>
        {
          item.colors.map((color: string, index: number) => {
            return <Item key={index} color={color} />
          })
        }
      </View>
    )
  }}
/>
...
The renderItem callback gets the getItem returned item object. So, we will get incremental colors for incremental rows.
If you re-run the app now, you will see colors like below gif.
Complete code of our example,
//App.tsx
import React from "react";
import {
  Text,
  StyleSheet,
  SafeAreaView,
  StatusBar,
  View,
  VirtualizedList,
} from "react-native";

const colors = [
  'orange',
  'green',
  'blue',
  'maroon',
  'violet',
  'darkorange',
  'gold',
  'darkgreen',
  'aquamarine',
  'cadetblue'
];

const colorObject = {
  color1: {
    color: 'green'
  },
  color2: {
    color: 'yellow'
  },
  color3: {
    color: 'orange'
  }
};

type ItemProp = {
  color: string;
};

type ItemDataProp = {
  id: string;
  color: string;
};

export const BasicVL = () => {
  const Item = (props: ItemProp) => {
    const { color } = props;
    return (
      <View
        key={color}
        style={[
          styles.view,
          {
            backgroundColor: color
          }
        ]}
      />
    )
  };

  const getItem = (data: string[], index: number) => {
    return {
      id: Math.random().toString(12).substring(0),
      color: data[index],
    } as ItemDataProp
  };

  const getItemCount = (data: string[]) => data.length;

  // For Different Data Type Example
  // const getItemObject = (data: any, index: number) => {
  //   const objectToArray: ItemDataProp[] = Object.entries(data).map(obj => obj[1] as ItemDataProp);
  //   return {
  //     id: Math.random().toString(12).substring(0),
  //     color: objectToArray[index].color
  //   } as ItemDataProp
  // };
  // const getItemCountforObject = (data: any) => Object.keys(data).length;

  // For Flexibility Example
  // const getItemMultiple = (data: string[], index: number) => ({
  //   id: Math.random().toString(12).substring(0),
  //   colors: data.slice(0, index)
  // });

  return (
    <SafeAreaView style={{ flex: 1, backgroundColor: 'white' }}>
      <StatusBar
        barStyle="dark-content"
      />
      <View style={styles.container}>
        <Text style={styles.text}>
          ifelsething.com
        </Text>
        <Text style={styles.text}>
          basic VirtualizedList
        </Text>
        <VirtualizedList
          contentContainerStyle={styles.content_container}
          data={colors}
          getItemCount={getItemCount}
          getItem={getItem}
          keyExtractor={item => item?.id}
          renderItem={({ item }) => {
            return (
              <Item color={item.color} />
              // For Flexibility Example
              // <View style={{ flexDirection: 'row', gap: 10 }}>
              //   {
              //     item.colors.map((color: string, index: number) => {
              //       return <Item key={index} color={color} />
              //     })
              //   }
              // </View>
            )
          }}
        />
      </View>
    </SafeAreaView>
  );
}

const styles = StyleSheet.create({
  container: {
    flex: 1,
    margin: 10,
    gap: 20
  },
  text: {
    fontSize: 15,
    color: 'black',
    fontStyle: 'italic'
  },
  content_container: {
    gap: 10
  },
  view: {
    flexShrink: 1,
    width: '100%',
    height: 200,
    borderRadius: 10,
    alignSelf: 'center'
  }
});
Related Posts
 Horizontal ScrollView in React Native
 Get ScrollView Content Size in React Native
 Header and Footer for React Native FlatList
 How to Create A Draggable Items List in React Native
 SectionList in React Native
 Flash Scrollbar without Scrolling in React Native
 Stop Scrolling at Regular Intervals in React Native
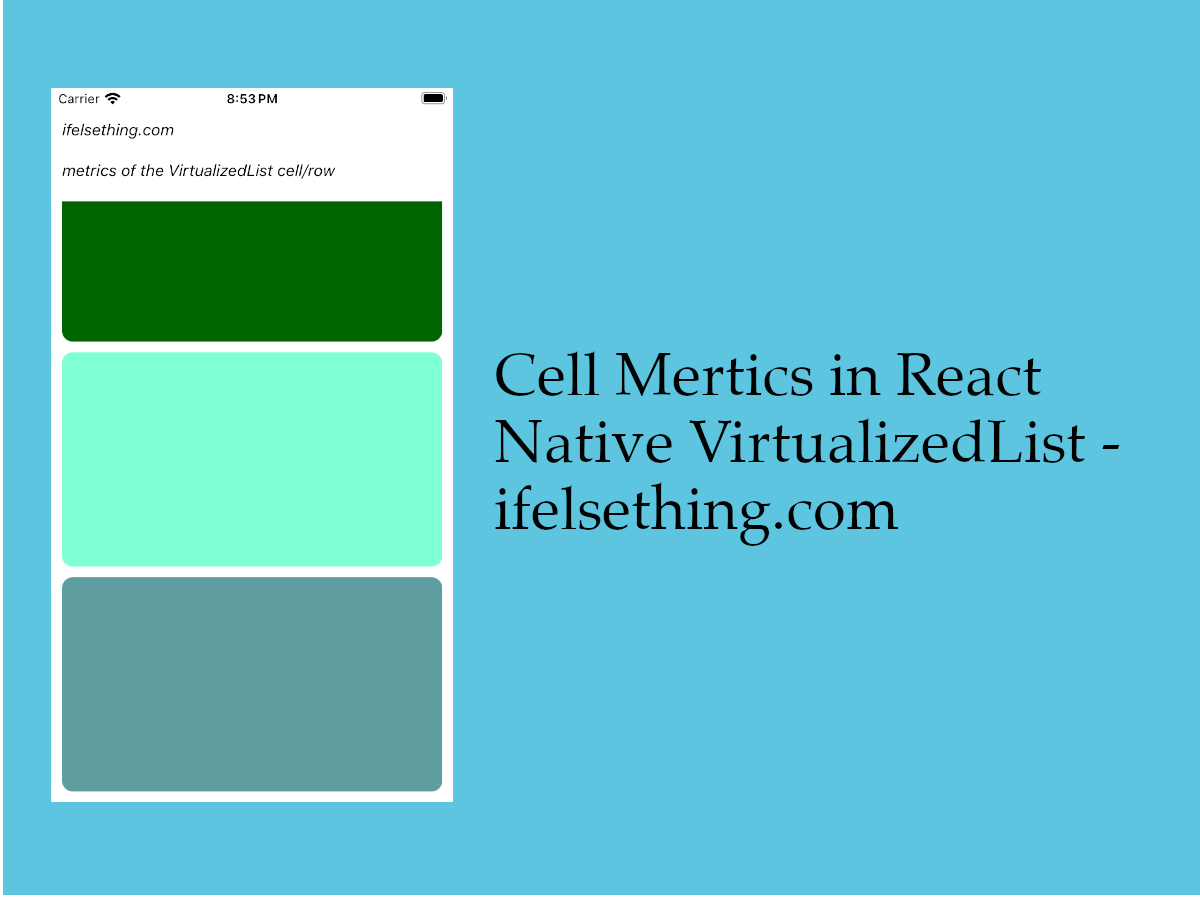 Cell Metrics in VirtualizedList
 Separate FlatList Items with a Component